Creating Your First Event 🗓️
An essential guide on event creation
Events can be challenging to plan, manage, and execute manually, especially as your business scales. With our event management tool, you won't need to stress about getting your events out there to your workforce and beyond.
This guide will help you get your first event off the ground and is divided into two parts for easy navigation. Let's get started!
Navigation
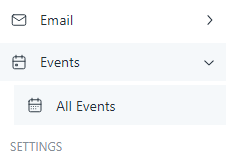
To access the Events page, navigate to Events -> All Events in your side navigation.
Section One: Creating Your Initial Event
From the All Events page, you'll see an empty container that will be populated with future events.
- Click Create Event to start the event creation process. You will be redirected to the Create Event page.

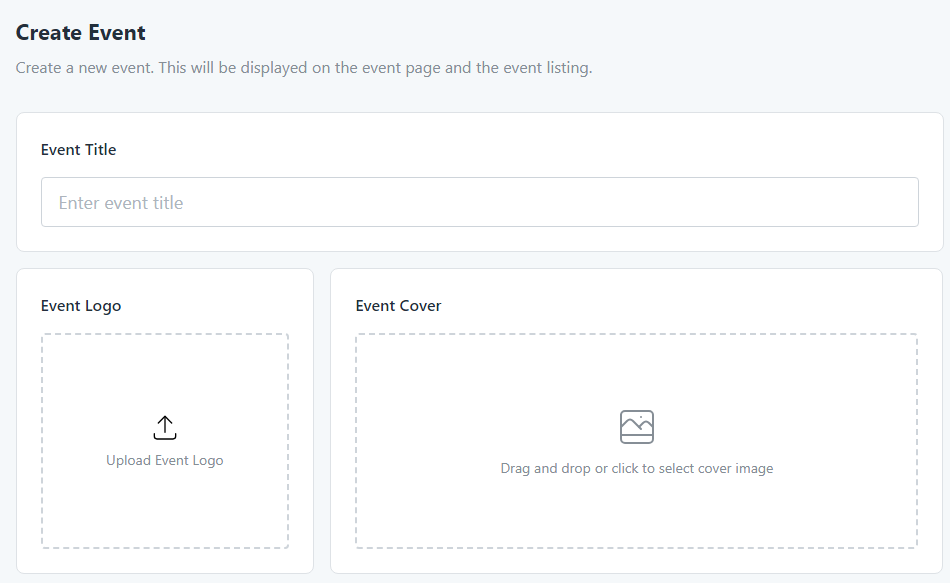
- In the top portion of the Create Event form, add an Event Title, Event Logo, and an Event Cover.
Note: Graphics are optional but recommended to help your event stand out!
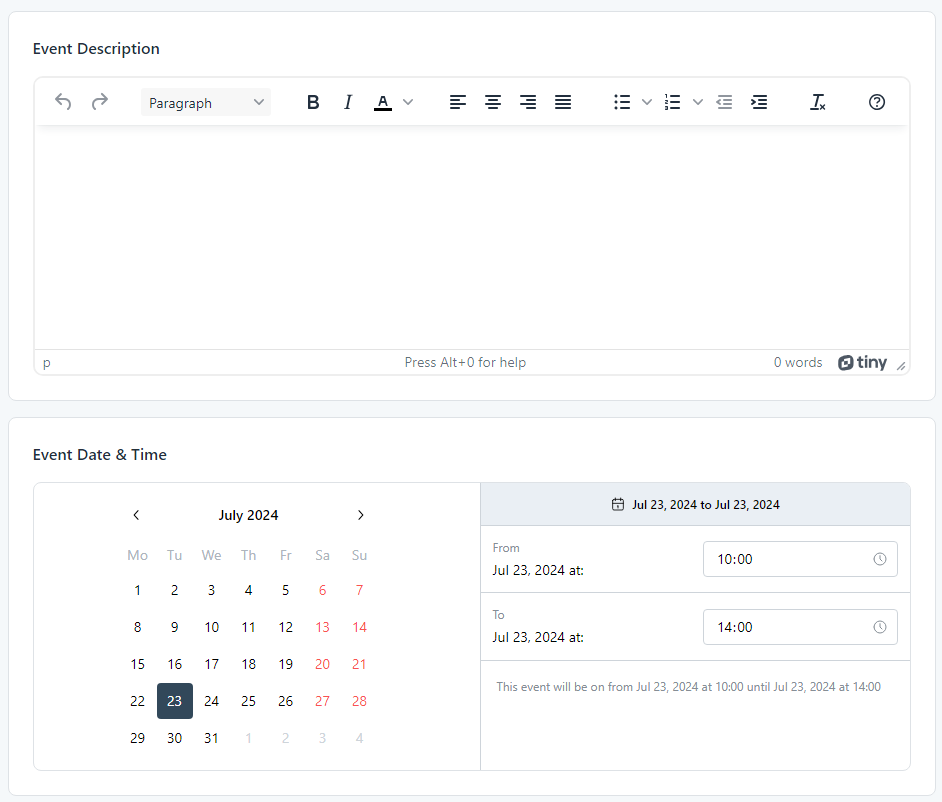
Scroll down to the middle of the form to add specific details about your event to ensure attendees know what it's about and when it's happening.
- Add an Event Description, Event Date using the calendar widget, and an Event Time using the time widgets located in the Event Date & Time section.
Event Form Behavior
As shown below, clicking a single date repeatedly will cycle between an all-day event, where you can set a start time, and a date range with a start and end date.
Scroll further down the form to complete the initial setup.
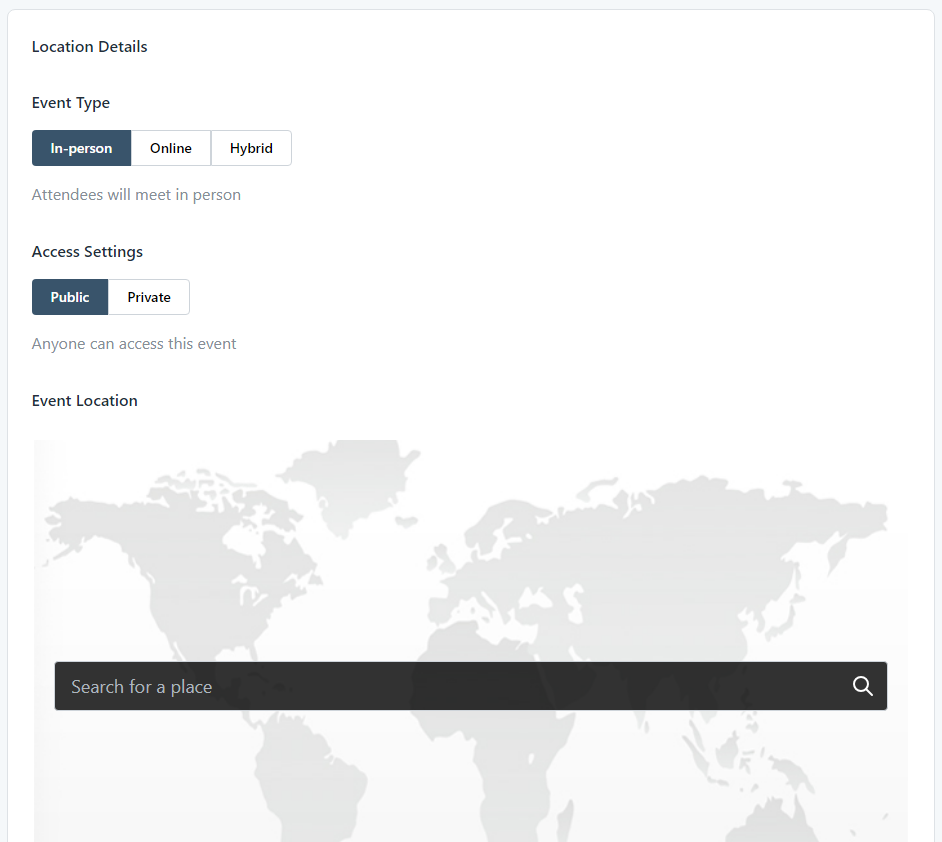
- Select the Event Type you would like to create. Changing this option will modify the rest of the form.
- In-person: A face-to-face event.
- Online: A fully remote event.
- Hybrid: A mixture of both face-to-face attendees and online.
This guide will go through the Hybrid option as it will also cover the combined settings for both In-person and Online.
- Select whether you would like your event to be Public or Private; by default, it is Public.
Location
- If applicable, type the location of the event in the Search for a place bar located across the map.
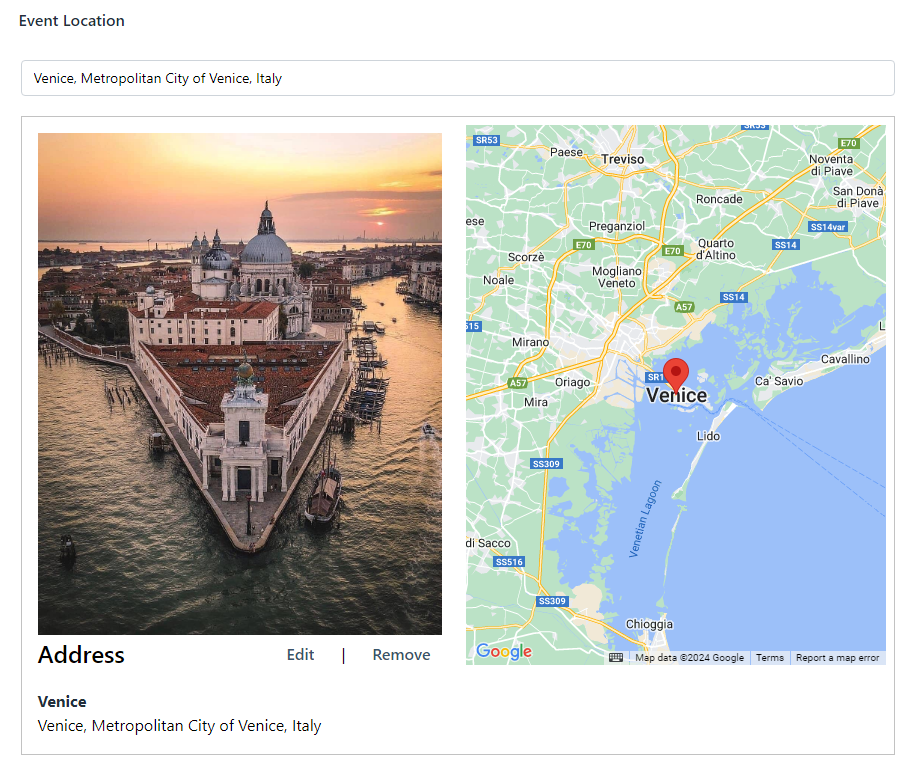
Event Image
Once you have entered a location for the event, it will automatically add a display image for the generated event card. This can be changed at any time by pressing the edit button or removed entirely with the Remove button.
- Click Create Event to create your initial event.
Viewing Your Draft
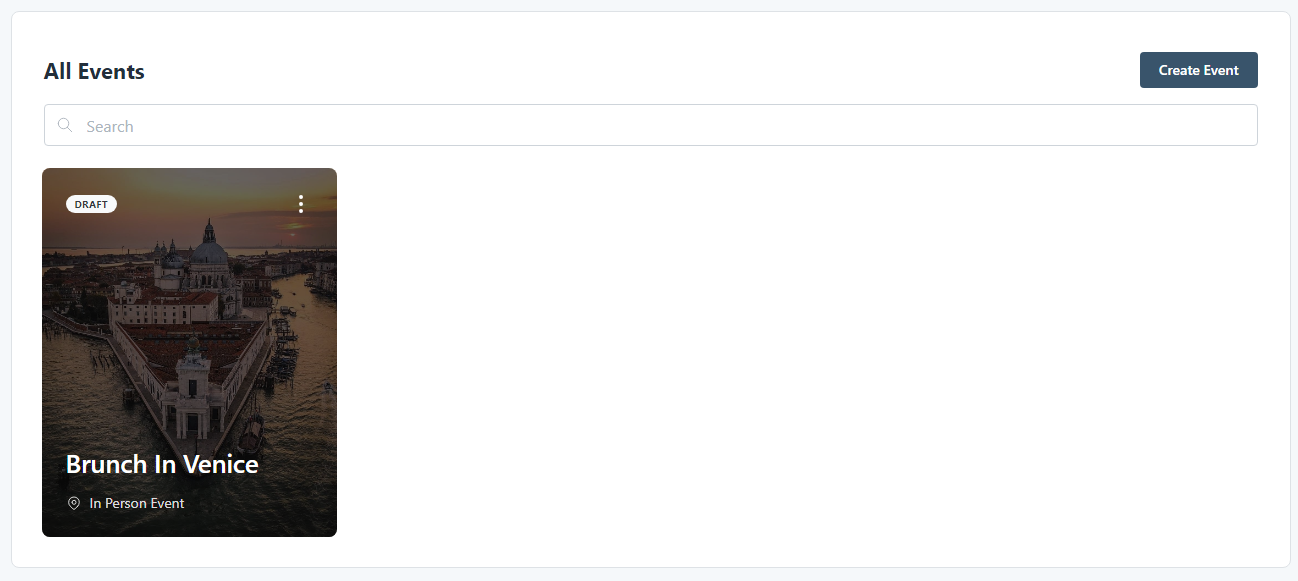
You will be redirected to the event overview page where you can start refining your event setup. For demonstration purposes, let's return to the All Events page we were on before.
- Click All Events in the side menu to return to the events home page.
At this point, you have successfully created a draft event. A card representing the event will be created on the All Events page. This is useful if you need to return to the setup process at another time. All your progress will be saved!
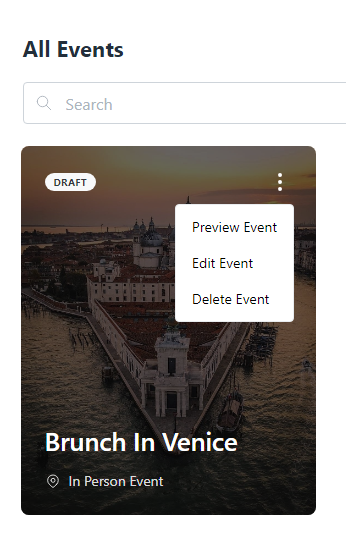
Card Dropdown Menu
Each card has vertical dots indicating a dropdown menu. Click this dropdown at any time to either preview, edit, or delete your draft event.
- Click either the event card or Edit Event from the dropdown.
Section Two: Refining & Publishing Your Event
Now that you have a draft event set up, we are ready to refine and publish it!
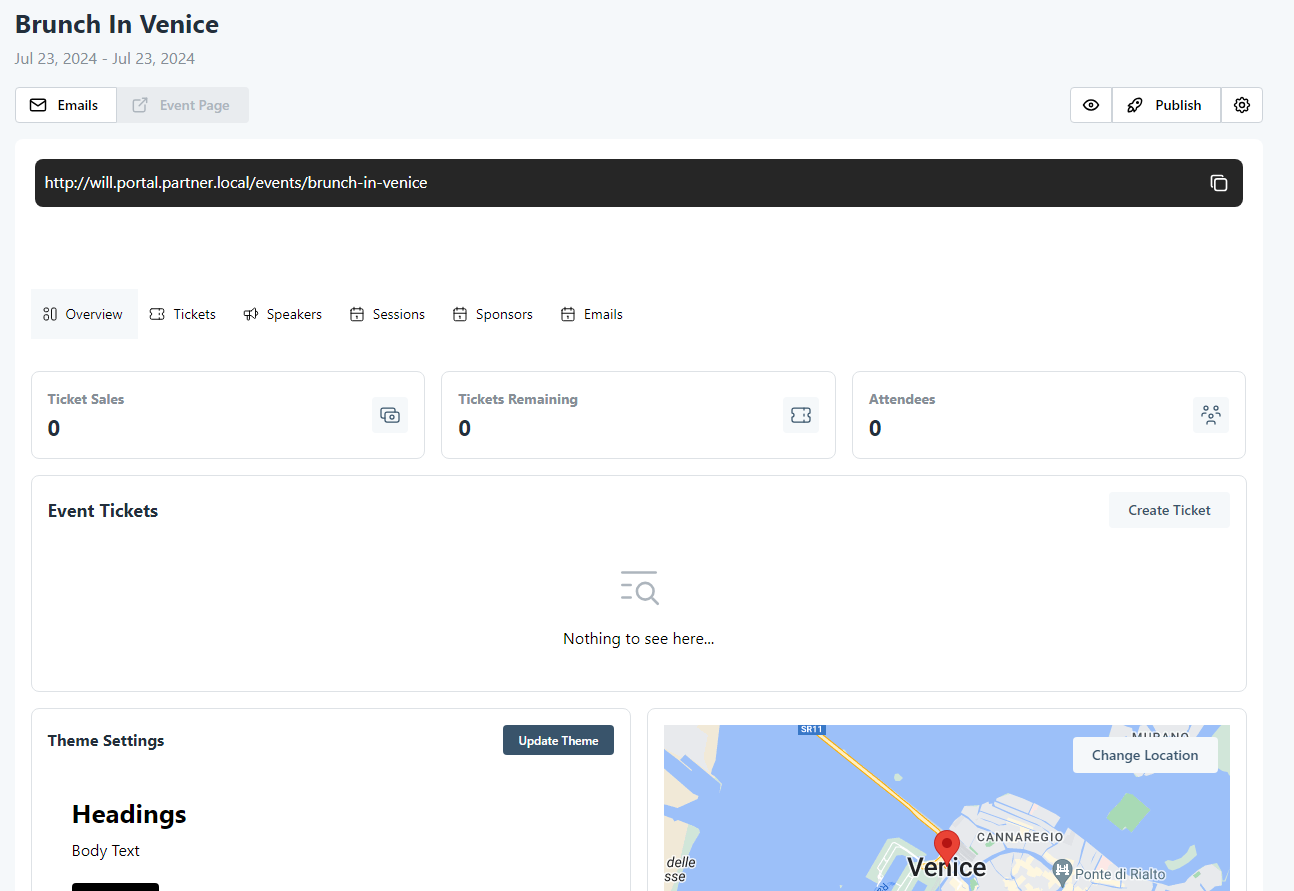
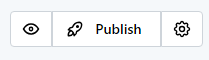
At the top of the edit page, you can see the name of your event and date. To the right, there's a small menu with an eye icon to preview the final event page, a Publish button, and a cog to edit the initial event details we covered in Part One.
The first tab you're brought to after clicking the Edit Event button is the Overview tab, which lets you see ticket details, theme settings, and location.
Creating A Ticket
At the moment, we haven't created any tickets for attendees. Let's make one!
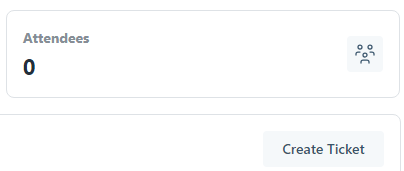
- Click Create Ticket in the Event Tickets box or navigate to the Tickets tab in the menu bar and do the same there. A modal will pop up for you to create a ticket.
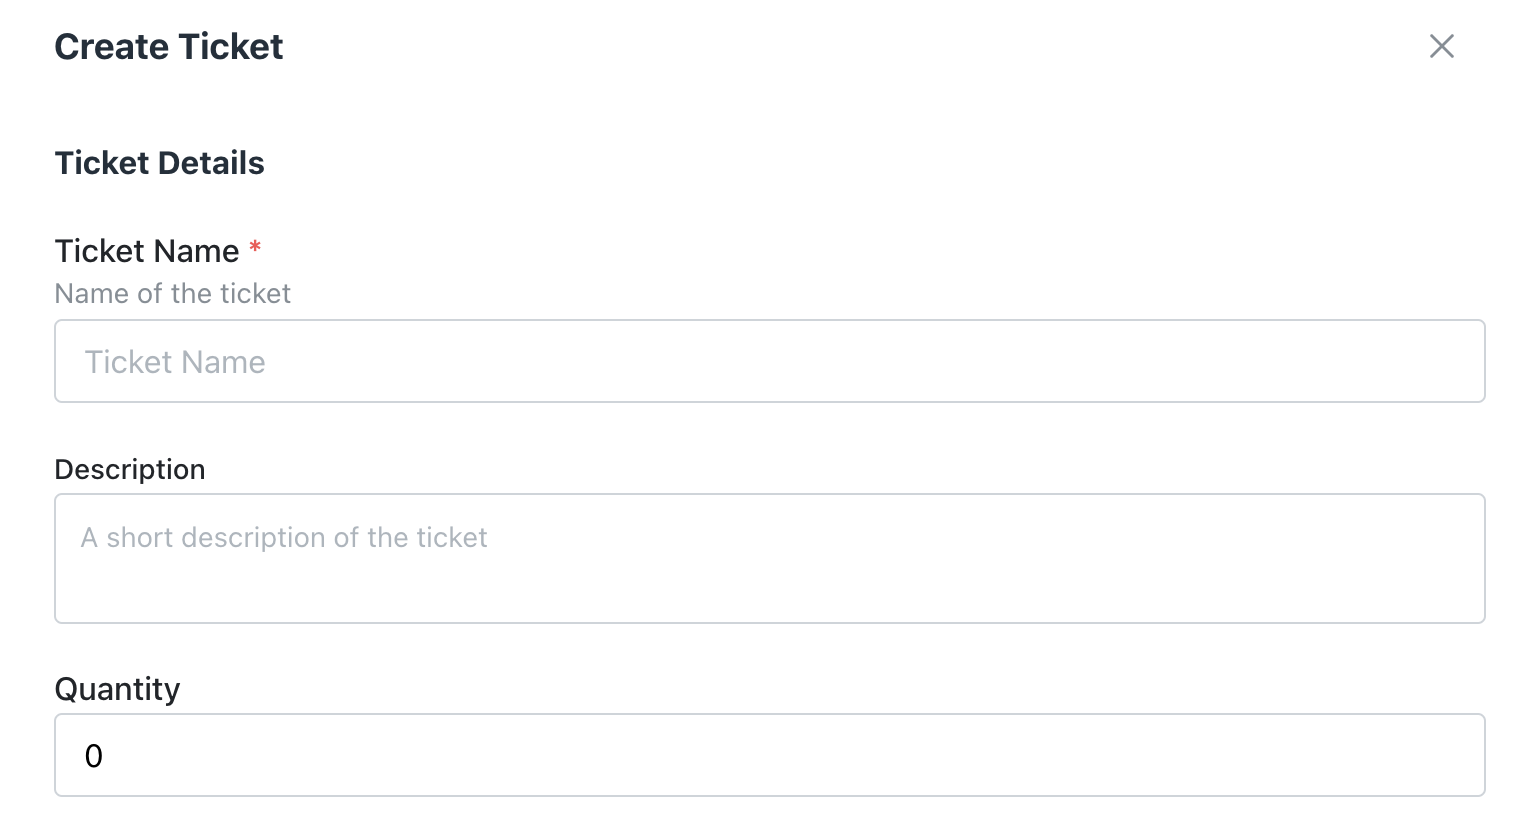
- Fill out the modal in its entirety, ensuring you scroll down to see all available options.
- Once filled out, select Create Ticket.
On your Overview and Tickets page, you will see the created ticket. Information on the number of available and sold tickets will also be displayed to help you track your event.
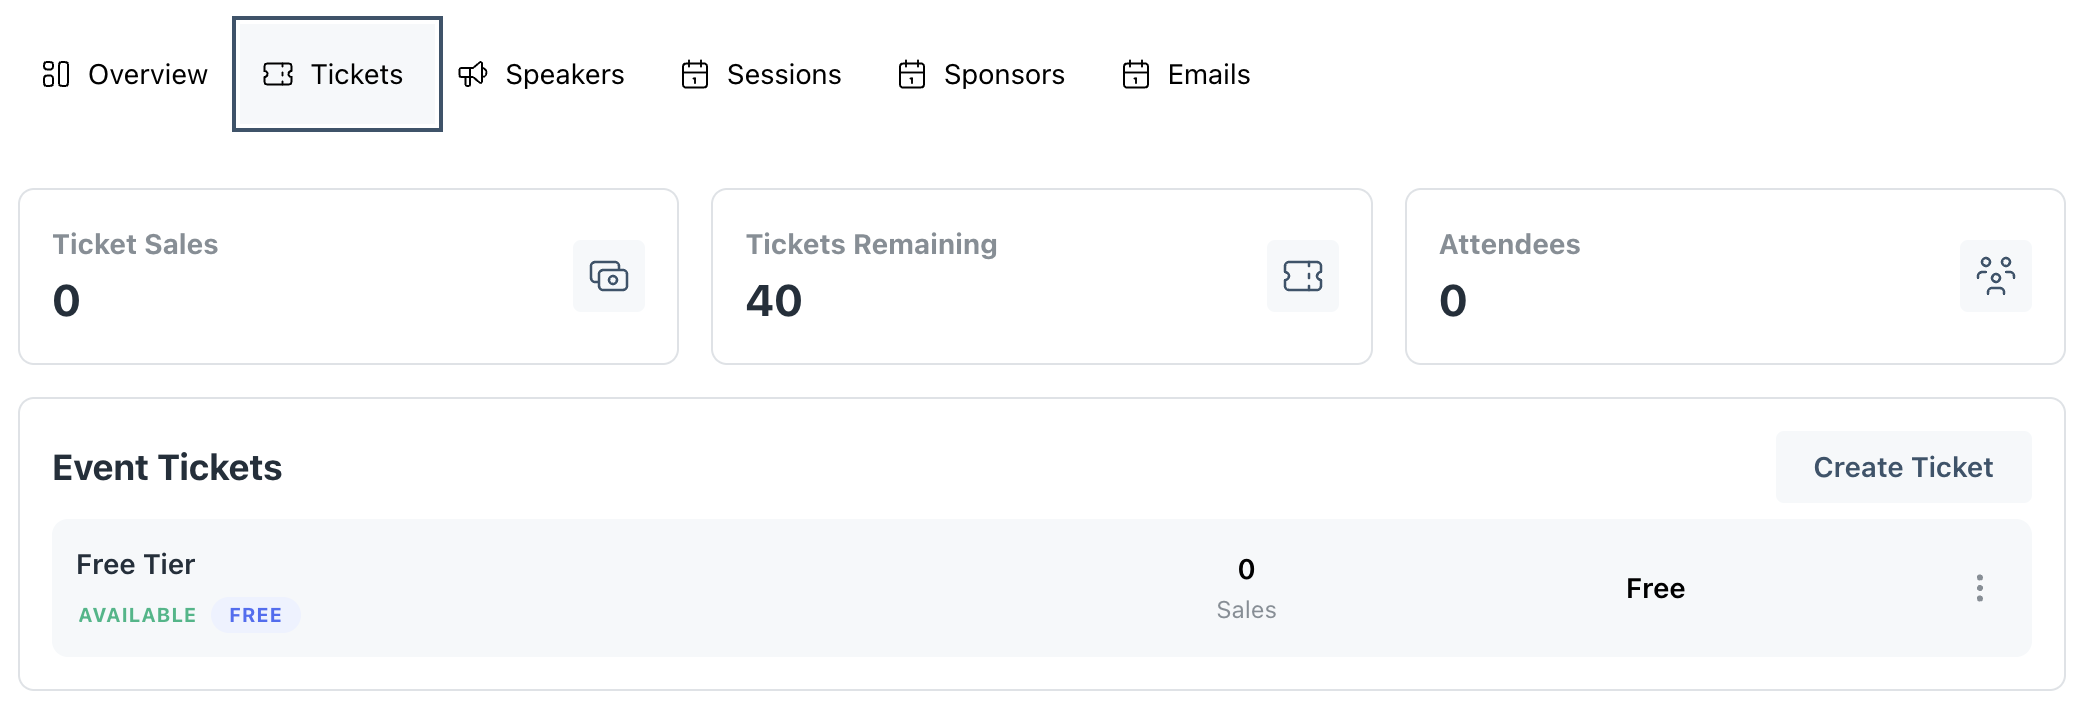
The same process applies for each of the menu tabs. Tabs can be skipped if not applicable.
- Speakers: Invite speakers to your event via email.
- Sessions: Add sessions to your event for specific activities during its runtime.
- Sponsors: Add sponsors to your event.
- Emails: Edit and view your event's automated emails.

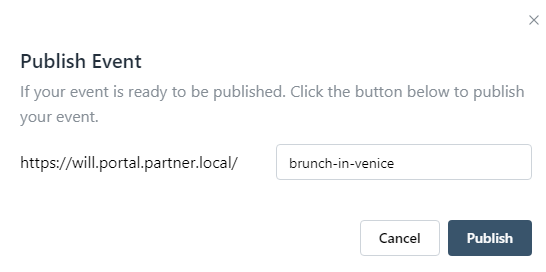
- Click Publish in the top right menu to finalize your event.
A modal will appear with an option to rename the event link. It will autofill with the event name for convenience.
- Click the Publish button.
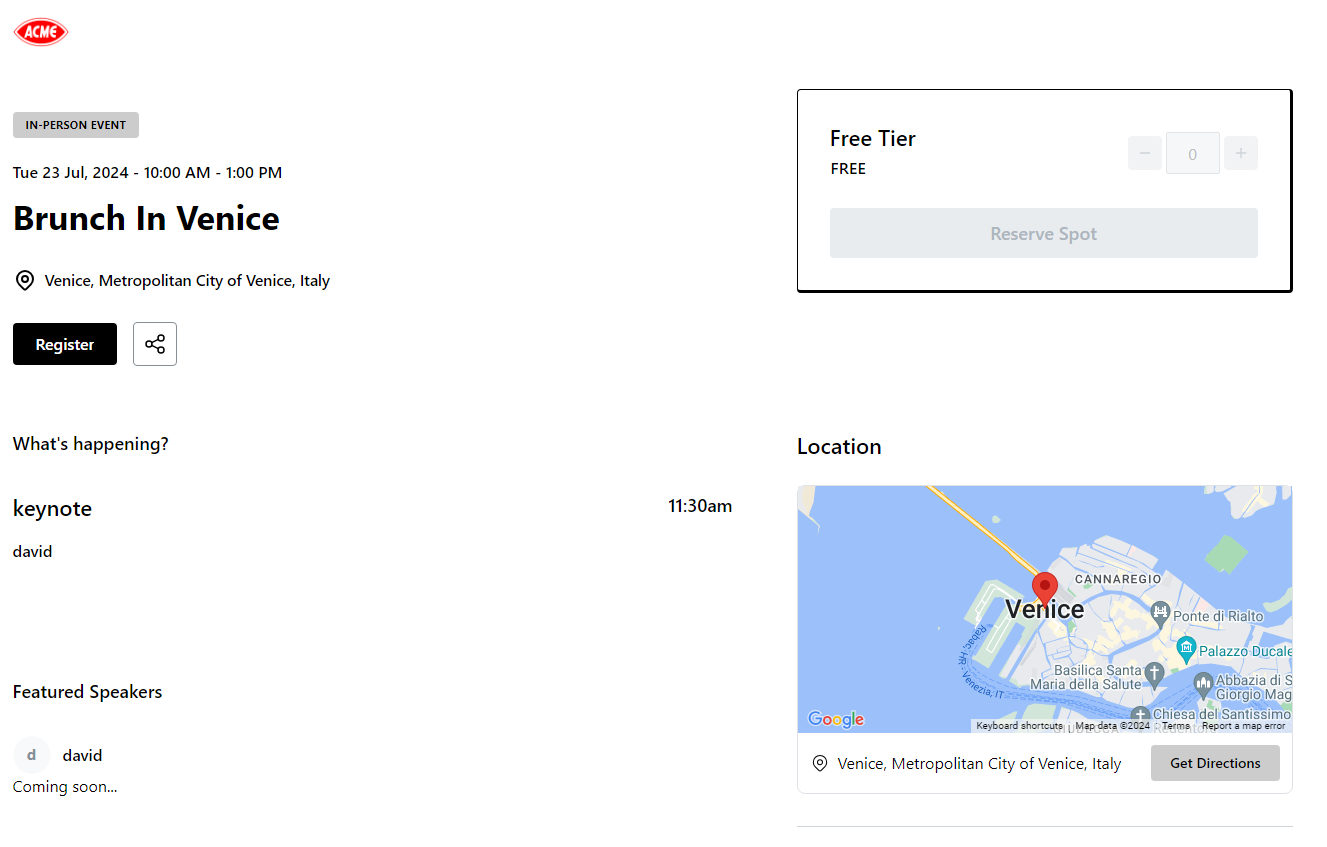
That's it! Your event is ready to share! If at any point you need to make modifications, you can do so by accessing the All Events tab and selecting the Edit Event card as discussed previously.
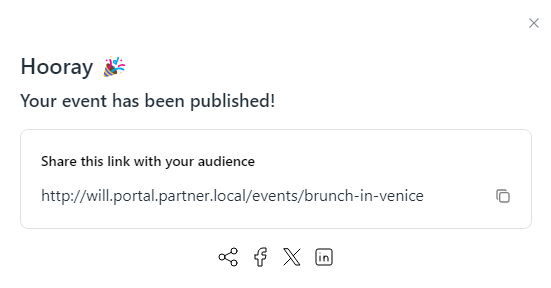
Navigating to the provided link will take you to the live event page that invitees will see.